
 English
  Français
  Italiano
  Español
  Português
  Deutsch
 Step 1
Log in to your Glow account and head to Settings > White Label > DNS.
Step 2
After you’ve added your domain name information choose Yes to this question: Would you like clients to be able to raise support tickets by sending an email to [email address]?.
Step 3
You will now see a section appear below, with the title Incoming email instructions.
Highlight the email address that Glow is telling you to forward email to, right click and then select copy (you will need this later).
Step 4
Open a new tab in your web browser, go to Gmail and click on the cog icon in the top right corner. From the dropdown menu that shows, click on See all settings.
Step 5
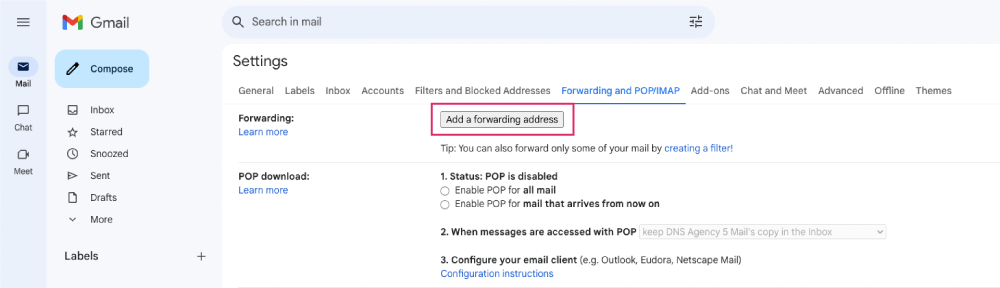
Next, choose Forwarding and POP/IMAP from the options across the top of the screen.
In the Forwarding section at the top, click on the Add a forwarding address button:
Step 6
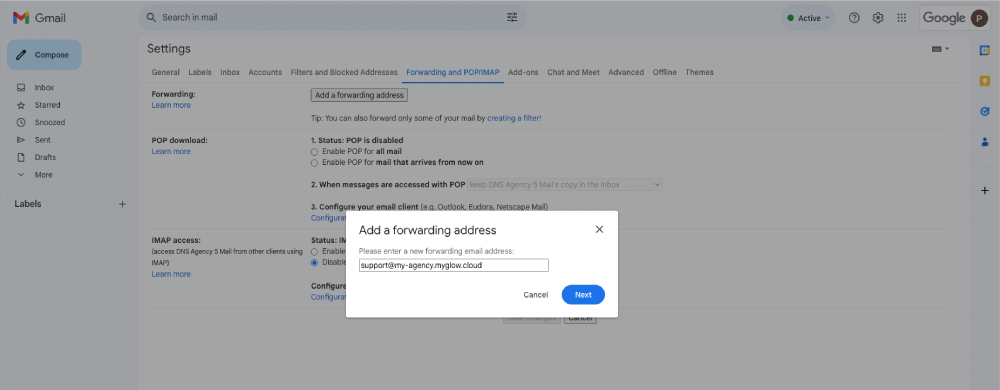
A popup will appear, with the title Add a forwarding address.
Right click in the form field and select paste.
You will now see the forwarding email address that you copied earlier in your Glow account.
Step 7
Click the Next button in the popup.
Step 8
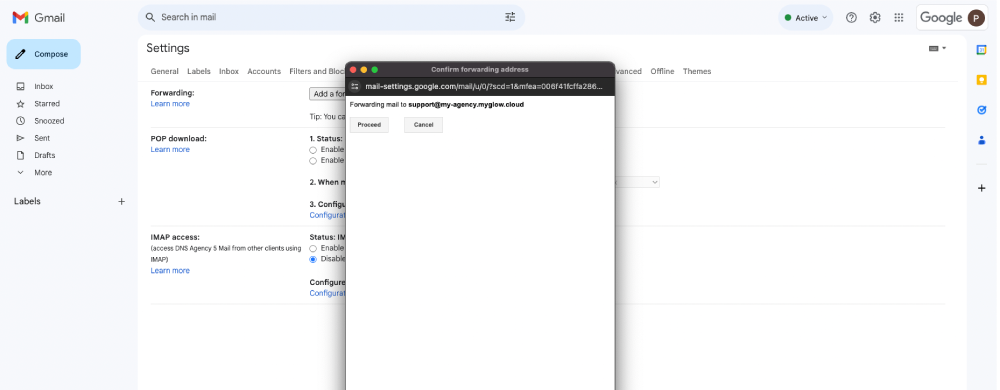
The popup will disappear and another one will show immediately that says: Forwarding mail to: [forwarding address showing in Glow]. Click the Proceed button in this popup.
Step 9
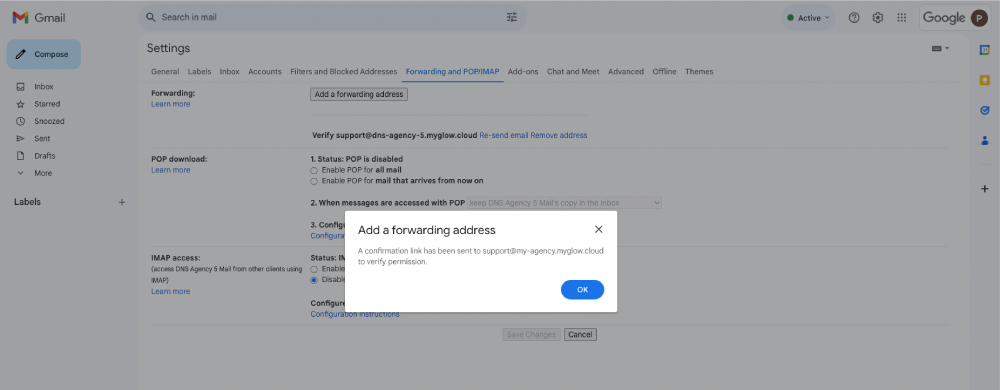
You will now see a message telling you that a confirmation link has been sent to your Glow forwarding email address, for you to verify the process.
Go back to your other browser tab where you’re logged into your Glow account and click on Support Tickets from the main left hand menu.
Step 10
You’ll see a new ticket has appeared. Click into this ticket to open it.
In the ticket correspondence you will see that Google is asking you to click a link to verify the forwarding address.
Click this link and you’ll be taken away from Glow, to a basic screen from Google, where you can verify the forwarding address.
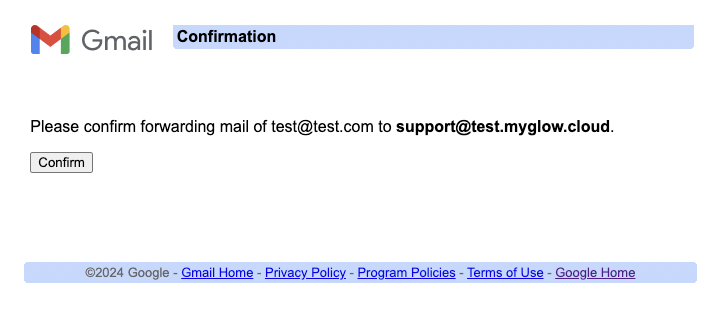
When it’s verified, you’ll see confirmation of this on screen from Google:
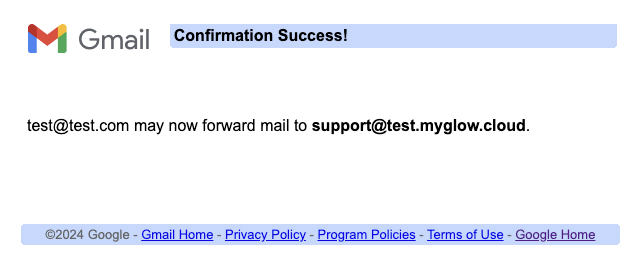
Step 11
Now go back to Gmail.
Go to Settings > Forwarding and POP/IMAP and you’ll see that Gmail has confirmed that forwarding has been setup, however the Disable forwarding radio button will be selected by default.
Select the Forward a copy of incoming mail to: radio button and then choose what to do with your copy (keep it, mark it as read, archive it or delete it).
When you’ve made that choice, scroll to the bottom of the screen and click the Save changes button.
And that’s it.
Your clients can now start raising support requests to your support email and they will appear in the Support Tickets section of your account.
When you reply to their requests, they will receive an email and can reply back to you via email too.
(Optional) Step 12
You can now delete the Google confirmation ticket from Glow, if you’d like to.
You no longer need it.